

Adapted by:
Miguel López
ContributorIngeniero informático dado a las letras, con más de 14 años y miles de artículos de experiencia en medios tecnológicos online. Siempre interesado el modo en el que la tecnología puede cambiar la vida de las personas, y por eso también asesoro a individuales y empresas a la hora de adoptar todos los avances de dispositivos y servicios Apple.

Alba Mora
WriterAn established tech journalist, I entered the world of consumer tech by chance in 2018. In my writing and translating career, I've also covered a diverse range of topics, including entertainment, travel, science, and the economy.
Digitally signing a PDF document using the tools Apple provides with macOS, iOS and iPadOS is not a complicated process. However, if you want to use a digital signature certificate issued by a company or a government, the course of action differs from the usual methods.
In this guide, we’ll take you through the steps to follow using macOS Sonoma. Don’t worry if you haven’t upgraded your Mac yet, as the same method also works for macOS Ventura and even macOS Big Sur.
Here’s How to Use a Digital Certificate to Sign a PDF Document on Your Mac
First of all, you need to follow two simple steps:
Install the Adobe Acrobat Reader DC app for macOS, which you can download for free from Adobe’s official website. (The Pro version offers more options, but you need to pay for it, plus the free version fits our purpose here).
Install a digital certificate file in macOS’ Keychain. The most common format for certificate files is .p12. When you double-click on the file, it should be automatically added to the keychain. Keep in mind that exported certificates are usually protected with a password that you need to remember.
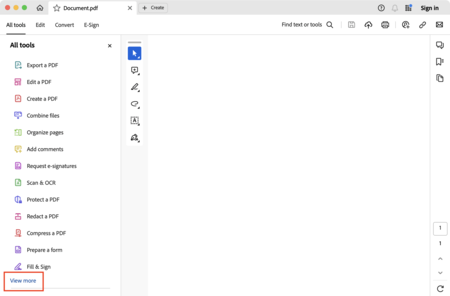
Once you have completed these two steps, you can sign a PDF document with your certificate. Open the PDF file using Acrobat Reader (Preview is not supported) and click on the View more link at the bottom of the left-hand sidebar:
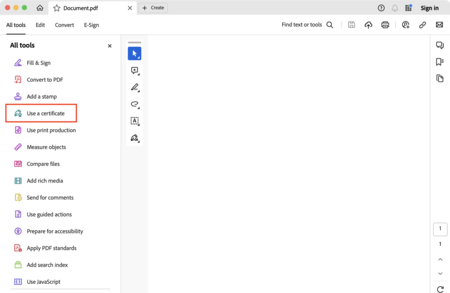
This will reveal more options in the sidebar. Click on Use a certificate, and you’re all set:
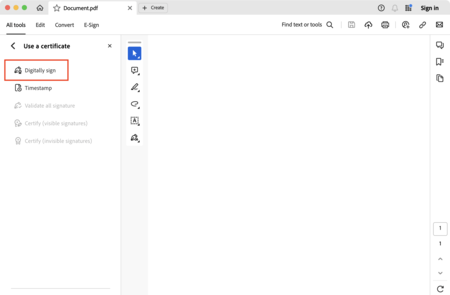
Now, click on Digitally sign. You’ll notice that the cursor changes into a cross and lets you draw a rectangle in the area of your PDF file where you want to place your signature. If the 'Digitally sign' option is unchecked, it means you can start drawing the rectangle:
After drawing the rectangle, Adobe Reader will prompt you to select a digital certificate from the ones installed on your Mac. Choose one of them (you’ll probably only have one) and click Continue.
You’ll see a preview of your signature, including all the personal data in your certificate. Click on Sign.
You may be asked to enter your Mac administrator password one or more times as Adobe Acrobat needs permission to access the system keychain and read your certificate. If you see the option, click Always allow to avoid re-entering the password.
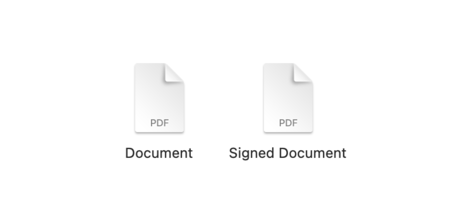
Finally, Acrobat Reader will ask you to save a copy of the original PDF with the certificate signature added. Choose a location to save it and you’re done:
Now you have a signed PDF to send to any institution or company which requires a digital signature certificate. Keep in mind that digital certificates usually have an expiration date, and that the signature will not be valid if you use an expired digital certificate.
How to Sign a PDF Online

If you encounter any issues while trying to sign a PDF on your Mac using Preview, or if the document is not compatible, there are other tools you can use. One of them is SmallPDF’s eSign, which uses a straightforward process: upload your document, wait for it to load, and then edit and sign it with no hassle.
Related | How to Open RAR Files on macOS